Add and Import
Files can be added to archives, with or without conversion from a different format. Let's start by talking about adding files without modification.
The process has two parts: decide where you want the files to go, then pick the files and add them.
The first part is very simple if you're adding files to a file archive or non-hierarchical filesystem like DOS 3.3 or CP/M, because there's only one place for them to be.
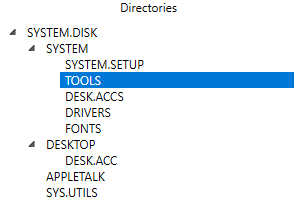
For a hierarchical filesystem like HFS or ProDOS, you need to pick which directory the files will be stored in. You do this by selecting the desired entry from the Directory tree, in the panel at the bottom left of the window.
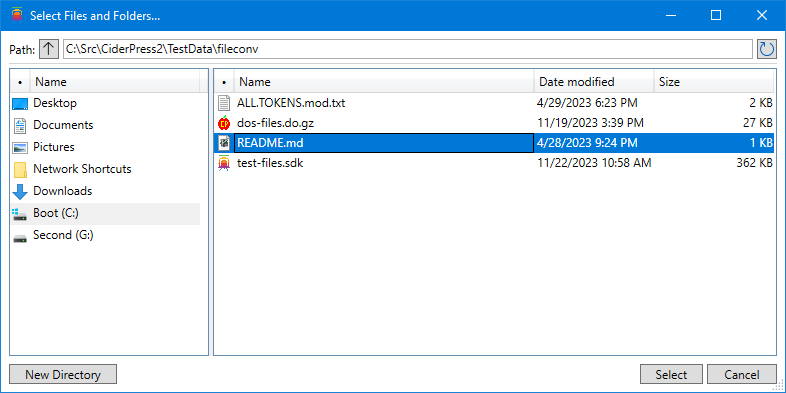
Next, use the Actions > Add Files menu item. This opens a window that allows you to select one or more files and directories to add. This has the same behavior as other lists: left-click to select, Ctrl+Click to toggle a single entry, Shift+Click to select a range.
You can select a combination of files and directories. If you select a directory, the contents of that directory will be added recursively (unless disabled by a setting).
When ready, click the Select button to add the files.
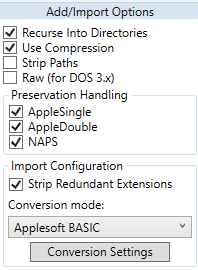
You can modify the behavior using the options panel on the right. The Strip Paths option will remove the directories from the paths, adding all files to the target location. Raw should be used on DOS 3.2/3.3 files that were previously extracted in raw mode.
The Preservation Handling options determine which preservation modes are supported. Normally you will want to have all of these enabled. If, for example, you have a file called "MyFile.as", and you want it to be added to the archive as AppleSingle rather than unpacked and added as its contents, you would un-check the AppleSingle box.
Import
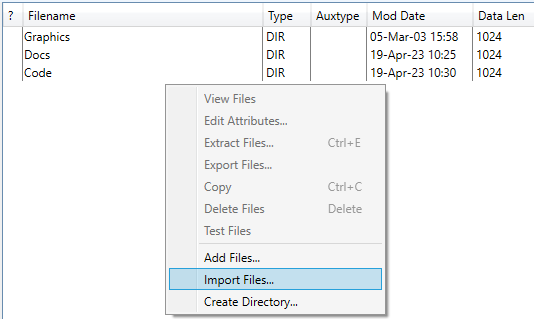
If you want to convert files while adding them, you can use Actions > Import instead. This generally works the same as adding files — select the target location and the files to add — but the files are assumed to be in a "modern" format. Attribute preservation is ignored, and a file converter is applied.
Unlike export, import has no "best conversion" mode. You must specify the converter to use, with the Conversion Mode pop-up menu. For example, if you drag a text file in, you might want it to be treated as a text file or as source for an Applesoft BASIC program.
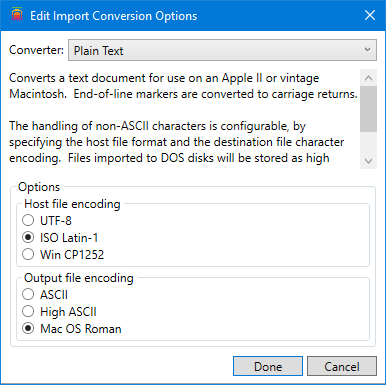
The options used for file import converters can be set by clicking on the Conversion Settings button in the Add/Import Options area. Pick the conversion mode from the pop-up menu at the top, configure the desired options, and click Done.